Steps:
Jenkins Installations
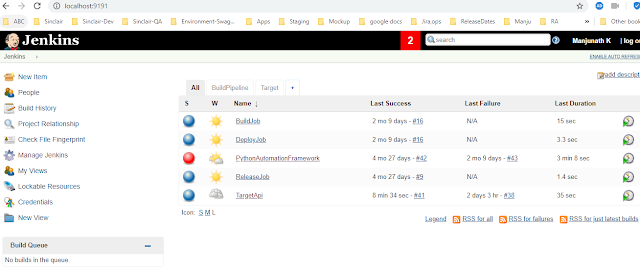
1. Go to below url
https://jenkins.io/download/
2. Click on Download
3. Install the downloaded file.
4. The path where i installed is
C:\jenkins

5.Type cmd on the file path->click enter
6.Paste below in Command Prompt
java -jar jenkins.war --httpPort=9191
7.Provide user name and password.
---------------------------------------------
Steps for setting up JDK and Gradle project in jenkins.
1. Click on manage Jenkins

2. Go to Global Tool Configuration

3.
Click on JDK Installations
provide
JDK Name : jdk1.8.0_181(As per your installation)
JAVA_HOME : C:\Program Files\Java\jdk1.8.0_181
Gradle Name: gradle-5.6.2-all
GRADLE_HOME : C:/MASTER/gradle-5.6.2-all

4. Click Apply and Save.
------------------
1.Click on New item
2. Click on Freestyle Project
3. Click on Advanced under General tab

4. provide the
Project Directory path: D:\Repository\Cable_Branch_2020.4
5. Click on Add build step
6. select
invoke Gradle script

7.
provide below
Command : gradlew test -DEnv=UPCDevFox -DTest_Plan=TargetApi.xml test -i
8. Apply and save.
9. Click on build
Jenkins Installations
1. Go to below url
https://jenkins.io/download/
2. Click on Download
3. Install the downloaded file.
4. The path where i installed is
C:\jenkins

5.Type cmd on the file path->click enter
6.Paste below in Command Prompt
java -jar jenkins.war --httpPort=9191
7.Provide user name and password.
---------------------------------------------
Steps for setting up JDK and Gradle project in jenkins.
1. Click on manage Jenkins

2. Go to Global Tool Configuration

3.
Click on JDK Installations
provide
JDK Name : jdk1.8.0_181(As per your installation)
JAVA_HOME : C:\Program Files\Java\jdk1.8.0_181
Click on Gradle Installations
Gradle Name: gradle-5.6.2-all
GRADLE_HOME : C:/MASTER/gradle-5.6.2-all

4. Click Apply and Save.
------------------
1.Click on New item

3. Click on Advanced under General tab

4. provide the
Project Directory path: D:\Repository\Cable_Branch_2020.4
5. Click on Add build step
6. select
invoke Gradle script

7.
provide below
Command : gradlew test -DEnv=UPCDevFox -DTest_Plan=TargetApi.xml test -i
8. Apply and save.
9. Click on build